|
|
|
Rising Sun Imports- How to tie obi Tying obi is easy if you follow these directions! Some helpful linksHow to wear Kimono part one(Nagajuban) |
|
 |
 |
Obi Ita (flat thin board- usually has elastic in order to fasten in the back) The Obi Ita is used to help the Obi retain a non-wrinkled appearance when wrapped around the waist. | |
 |
 |
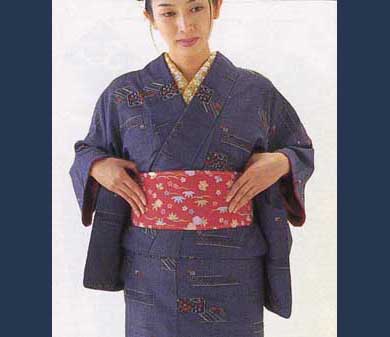
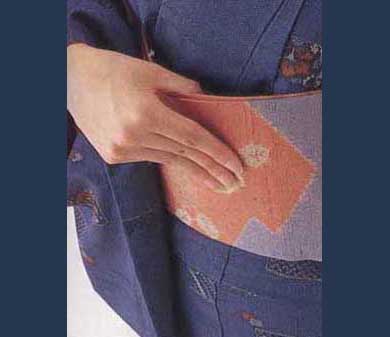
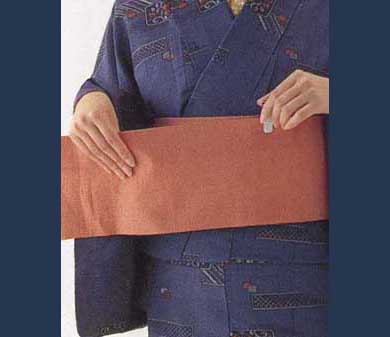
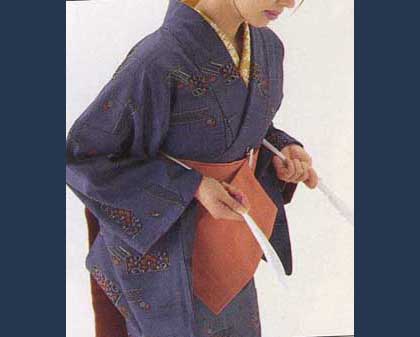
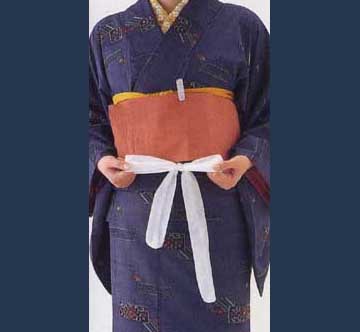
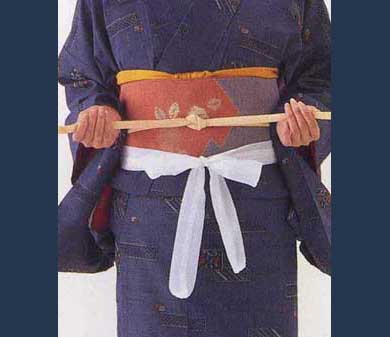
Start wrapping the Obi (narrow end) around your waist *PLEASE REMEMBER TO LEAVE ABOUT 3 FEET OF THE TAIL FREE IN BACK AS IN THE PHOTO HERE* | |
 |
 |
 |
 |
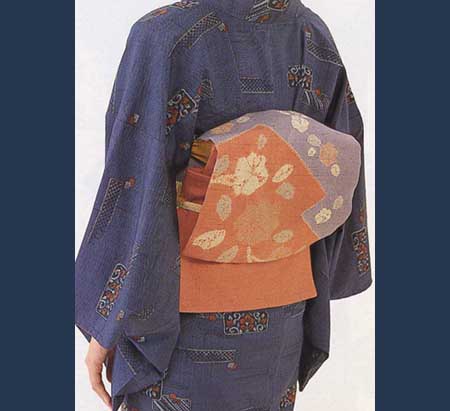
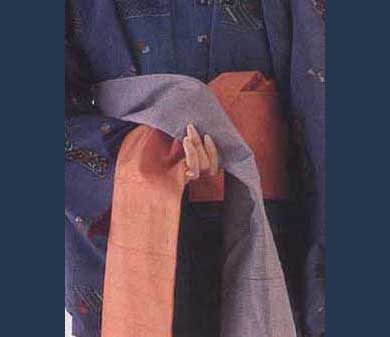
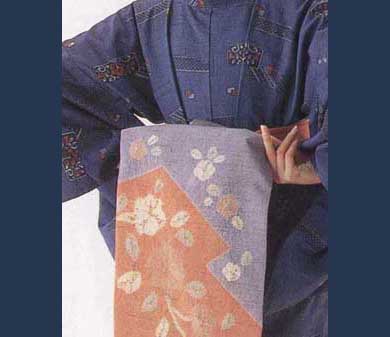
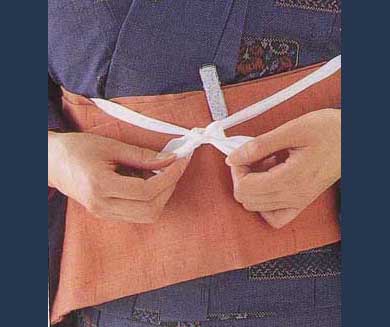
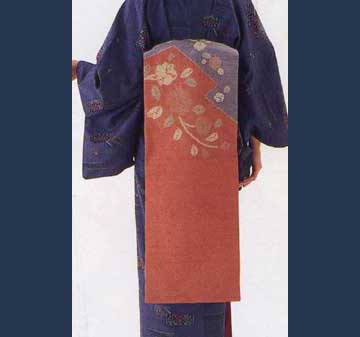
Tie the ends (make sure that the point where the Obi changes from 6" wide to 12" wide is in the center of your back. | |
 |
 |
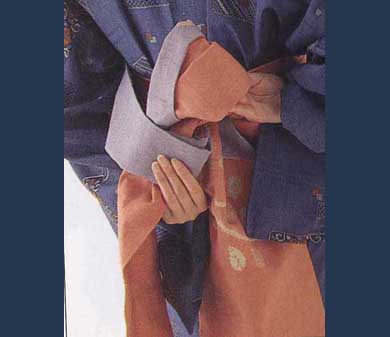
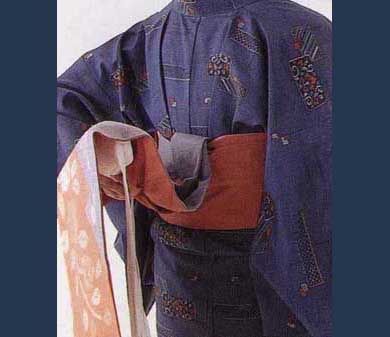
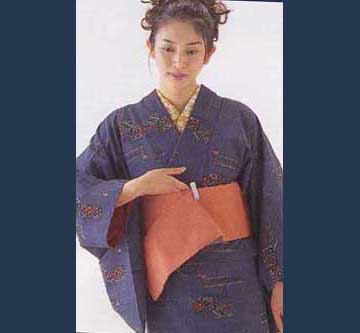
Keep the narrow tail free (in the photo the girl has used a clothes pin to keep the extra tail out of her way while she makes the Drum bow in the back. | |
 |
 |
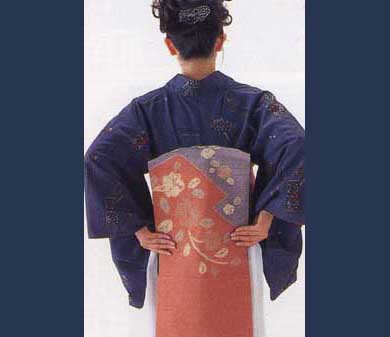
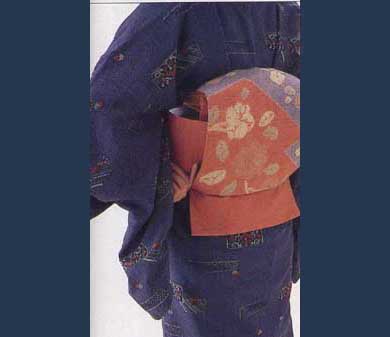
Now for the Obi Makura (which is a hard little pillow- which looks to me like package of Hostess Snow Ball snack cakes.) Place the Obi Makura under the 12" wide part of the Obi like shown in photo. The Obi Makura is essential for making your drum bow! | |
 |
 |
Tightly tie the 2 strings of the Obi Makura in the front and then tuck them into the top of the Obi. | |
 |
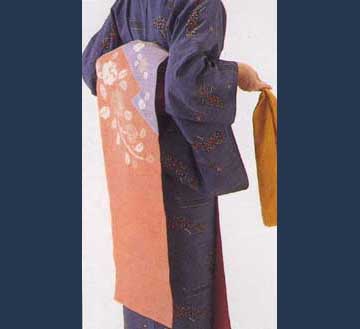 |
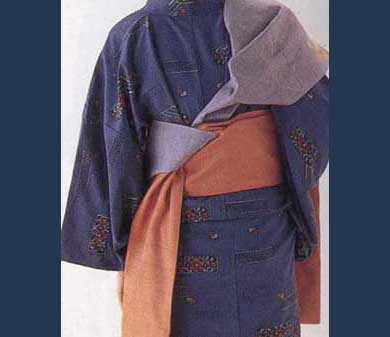
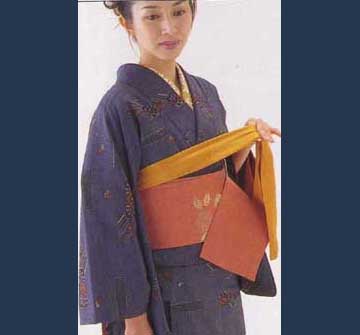
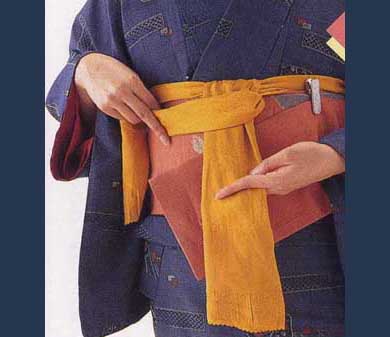
Now for one of my favorite accessories - the Obi Age. Usually a tie dyed gorgeous silk scarf. I have seen Obi Age sell for as much as $600.00 in some department stores | |
 |
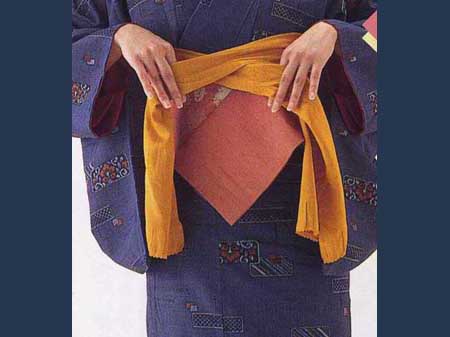 |
I tie the Obi Age in a square knot. Left over right. | |
 |
 |
 |
 |
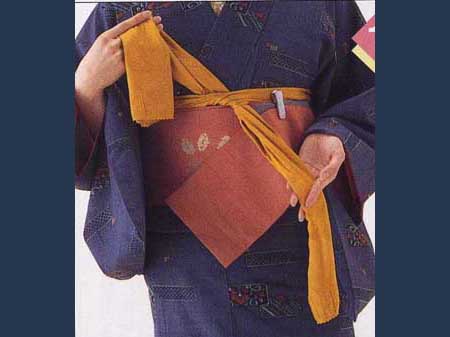
And then right over left. Tuck in the ends of the Obi Age into the top of the Obi. Younger women show more of the Obi Age then older women. (Apparently- showing a little Obi Age at the top of the Obi is considered sexy (like showing a bit of cleevage in the West....Hmmm). | |
 |
 |
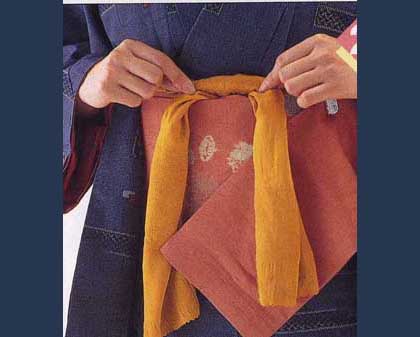
Now for the tricky part. | |
 |
 |
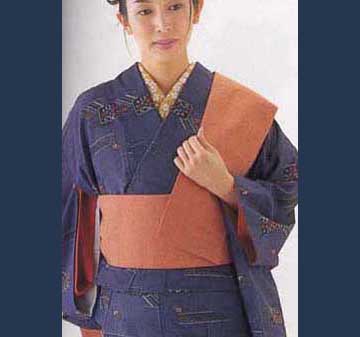
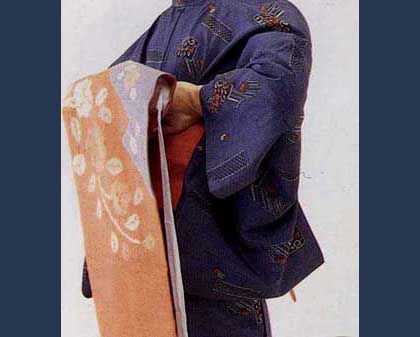
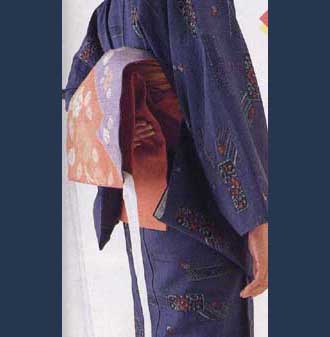
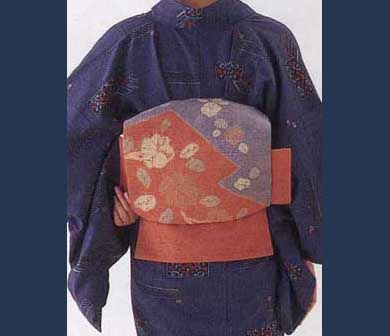
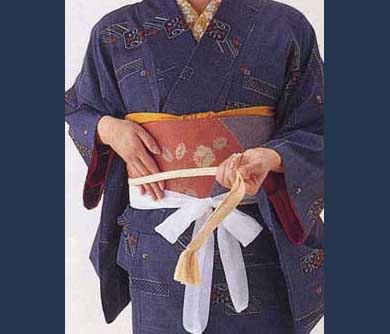
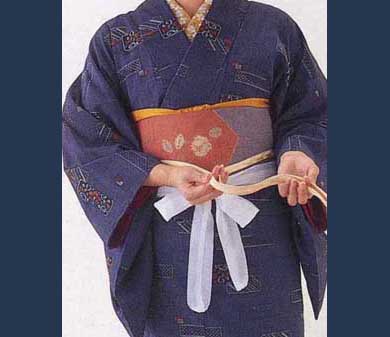
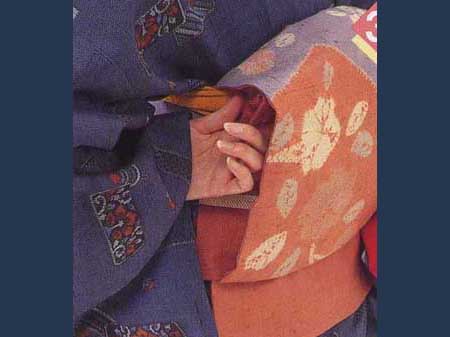
You need to fold up the end of the obi up into itself. In this photo- you can see what I mean. Now take a cotton cord or koshimo ribbon and put it into the folded part at the bottom of the Obi. Then tie this off in the front. This is a temporary tie until you put the Obi Jime tie on. (Don't worry- it looks harder and more confusing than it actually is.) | |
 |
 |
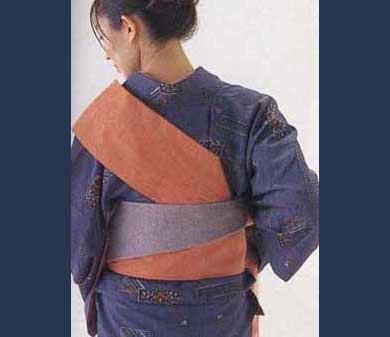
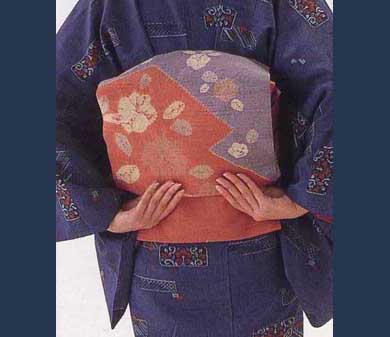
Now remember that extra bit of the Obi that we were saving from the beginning. It now gets tucked inside the Drum. | |
 |
 |
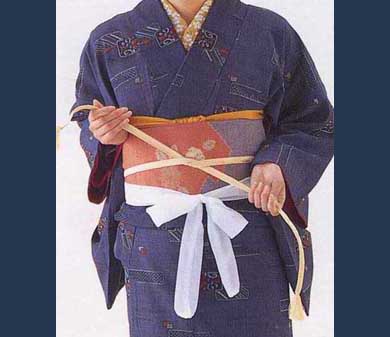
Time for the Obi Jime (The Obi Jime is a silk braided cord that ties around the middle of the Obi). | |
 |
 |
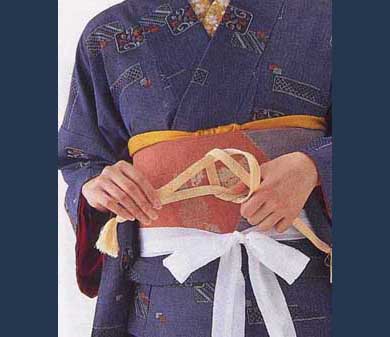
Make sure that the cord is even. You don't want a lopsided Obi Jime. And now left over right. | |
 |
 |
Right over left. Another square knot. | |
 |
 |
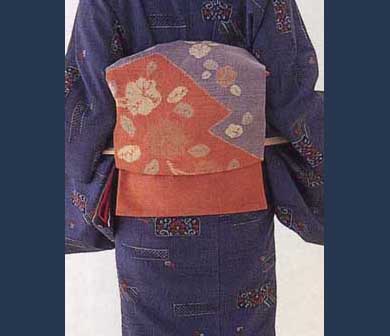
Tuck the ends of the Obi Jime into the sides of the Obi Jime. See the photo. | |
 |
 |
You can now remove the Koshimo or cotton cord and you should be all set! Please don't worry. If I can do this- anybody can! (No, I am not Japanese!) | |